

The necessity of pumpkin carving forms a fundamental part of every Halloween. Classic Halloween accoutrements, like pumpkin carvings and decorations, become enjoyable, wholesome, and imaginative activities for all family members. The satisfaction gained from executing a unique pumpkin carving idea before the eve of Halloween is unmatched. So, what’s the technique to carve a pumpkin?
How to Carve a Pumpkin
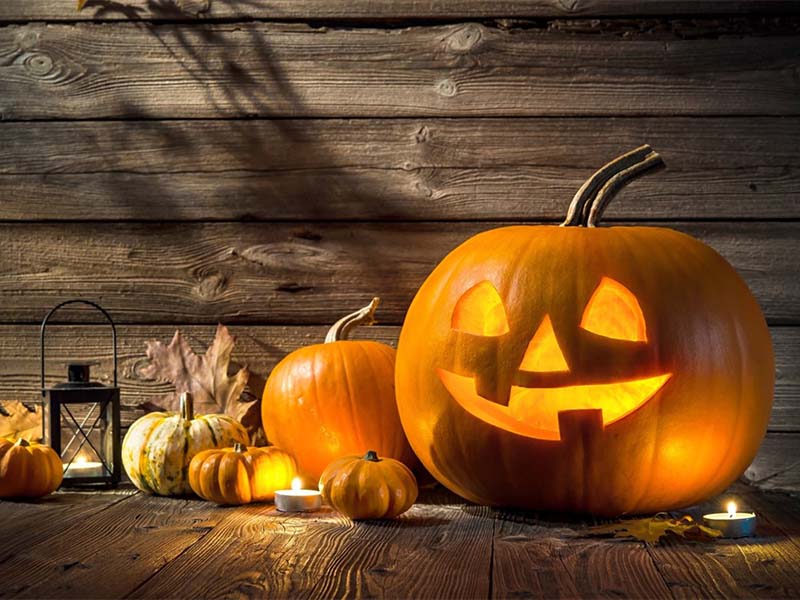
Spice Kitchen & Bar will show you 10 basic steps to carve the following impressive Halloween pumpkins as below:
- Prepare material
- Soak pumpkin skin
- Clean the pumpkin
- Choose a pattern to engrave
- Carrying out detailed engraving
- Take out the leftovers
- Clean the pumpkin again
- Soften the engraving edge
- Add candles
- Create fragrance

One of the familiar symbols of Halloween is the pumpkin. On this Halloween day, people often use pumpkins for cooking or carving as decorations for the house. Let’s refer to 10 basic steps to carve impressive Halloween pumpkins so you can decorate your home yourself!
1. Prepare material
You may want a round, long, large or small pumpkin. It depends on the model you want to create. However, in general, there will be the following tips:
Choose a pumpkin with smooth skin with a bright orange color. Pumpkins must not be too old to have thin skin and be easy to carve.
- Avoid choosing a pumpkin that is soft, bruised or has hard skins.
- In addition to pumpkins, you also need to prepare pencils, pins, carving knives of all kinds, small hand saws, printed patterns, candles, and some other decorative items that you want.
2. Soak pumpkin skin
After choosing the desired pumpkin, you need to wash it with clean water. You should use a dishcloth to scrub the pumpkin skin and let the pumpkin soak in water overnight. This step will help to clean dirt and help the pumpkin absorb water to soften the skin, making the engraving process easier.
On the other hand, you can also add a little bleach to the water to prevent mold growth. One note is to prevent the pumpkin from floating due to the empty intestine, you should use a heavy object to fix the pumpkin submerged in water.
3. Remove the pumpkin stalk
Next is to draw a sketch on the head, then use a sharp knife to cut the pumpkin head. Then, you use a spoon or your hand to pull out the pumpkin intestines. You need to carefully scrape the fibrous parts and the intestines out of the pumpkin so that it can be trimmed easily later.
4. Choose a pattern to engrave
Select the shape you intend to engrave on paper with the same size as the shape carved on the pumpkin face.
Alternatively, you can take a piece of paper and draw the eyes, nose, and mouth for the pumpkin to your preference. The creepier, the better (depending on your style).
Then you use a stapler to secure the flat piece of paper onto the pumpkin. You can also use scissors to cut off excess details on the design before fixing it.

5. Carrying out detailed engraving
Before carving, you should use a pin to follow the details on the pattern onto the pumpkin shell to take the sample. When carving pumpkins, you can start with the smallest or most detailed parts of the design. This means you will have some trouble at first, but it will save you trouble later on.
If you are left-handed, you should start from the right side and vice versa. Initially, you should only use a small knife to trim the surface to get an idea of the design. When you see that everything is okay, you will continue to cut and use a serrated knife or chisel to shape deep inside to create holes for light to enter.
6. Take out the leftovers
If you are having trouble pulling out the pumpkin excess, you can use a drill or sharp knife, insert it and pull the pumpkin leftover pieces out.
7. Clean the pumpkin again
After carving, you take a damp cloth to wipe all surfaces, especially the bottom of the squash, then wipe again with a dry cloth.
8. Soften the engraving edge
Rub Vaseline on all carved edges to help prevent the pumpkin from drying out too quickly.
9. Add candles
You can add a candle inside the pumpkin to make it more sparkling. If you don’t have a flat surface for the candle stand, you can attach a paper clip to the pumpkin flesh, and then glue the bottom of the candle with the paper clip. The paper clip will hold the candle in a stable position.
10. Create the fragrance
To make the pumpkin more impressive, you can add a little cinnamon powder, lavender, rose or whatever you like on top of the pumpkin. Besides, you can also use aromatherapy with any favorite fragrance. Thanks to this wayk, when you light the candle inside the pumpkin and close the pumpkin lid, the candle will make your house smell amazing!
Tip to Carve a Pumpkin
If your pumpkins start to dry out, turn off the candles and soak them in water for a few hours, then dry them with a clean towel.
If you accidentally miss important details of the design, you can carve out the missing part and fix it with a toothpick.

Frequently Asked Questions
1. Why is the pumpkin so associated with Halloween?
Halloween is an annual festival held on October 31 every year. It is often celebrated with grandeur and is considered the most joyful festival of the year, especially for young people and children.
This Halloween festival is a mixture of religious rituals and ancient practices of many different cultures. It took a long time for Halloween to become the popular festival we know today.
This festival used to only take place and be held in Western countries following Catholicism. However, due to its introduction and influence, many countries around the world have responded.
On this holiday, the families often decorate their house with effigies, witches, black cats and especially indispensable “Jack-ó-lanterns” pumpkins. Pumpkin is a special and indispensable symbol of Halloween. And there are many questions that arise when this festival does not use other fruits but pumpkins. The reason is that the origin of the pumpkin is associated with the story of Jack-ó-lanterns.
2. What is the meaning of the Jack-ó-lanterns pumpkin symbol on Halloween?
At this time, people will hang lanterns with pumpkins in front of their houses. They carved a human face with a grin in the hope that the devil would have light to find his way and not disturb the house owner.
Westerners believe that yellow is a color that symbolizes success and wealth. Therefore, they often decorate their houses with pumpkins during the Halloween season with the wish of luck and happiness.
As for the Chinese, the pumpkin has feng shui meaning. It symbolizes wealth and prosperity. So hanging a pumpkin with carvings in front of the house will have the effect of attracting fortune and prosperity for the owner.
Closing Points
How to carve a pumpkin becomes easier after reading this article. Thanks to just a few simple steps, we have finished carving Halloween pumpkins to decorate the house. Hopefully, you can create many other unique pumpkin lanterns to decorate your home during the upcoming Halloween with this method. Don’t forget to regularly visit Nubo Beauty to update more interesting information!